Showing posts with label pumpkin. Show all posts

Saturday, October 1, 2011

Hello October!

I know I say this all the time, so please forgive the redundancy, but I love Fall!

Today, I decorated the house for Fall...


...and started my morning with a Pumpkin Spice Latte from Sbux!
 

My friend Jessie is having a birthday get-together today with her husband and their families, and since it's Fall I wanted to make something yummy and perfect to take.  I have been craving everything pumpkin lately, and what better to take to a Fall party than pumpkin pie, especially when you're the fourth generation with a pumpkin pie family recipe (thank you Grammy!)?!  But pumpkin pie can be messy to eat, and one pie will only feed about 8 people (6 if you're like my family and want your slices big!) so I decided to make hand-pies.

If you don't know what a hand-pie is, it's a small, hand-held foldover pie that is about 2 or 3 bites big.  Perfect to eat at a party, not messy, and you can make a bunch of them out of one pie recipe.  Oh, and they are pretty dang delicious!


Here's what you need:
(this recipe will make about 40-45 handpies or one regular-sized pie)
1 cup pumpkin (either canned or fresh)
1 cup milk
1 cup sugar
2 eggs
1 tsp flour
1/2 tsp salt
1/4 tsp cinnamon
1/4 tsp nutmeg
1/4 tsp cloves

In my picture, you can see a can of pumpkin and then a cup of fresh pumpkin in the container with the purple lid.  My family has always made it with fresh pumpkin, but canned pumpkin works just as well.  Your choice!

Oh, and PS: I'm using my upcycled cookie sheet to message holder to hold my recipe card.  It's great, hands-free so your recipe card doesn't get all gross, and soooo easy to make!

Okay, so lets make some pies!
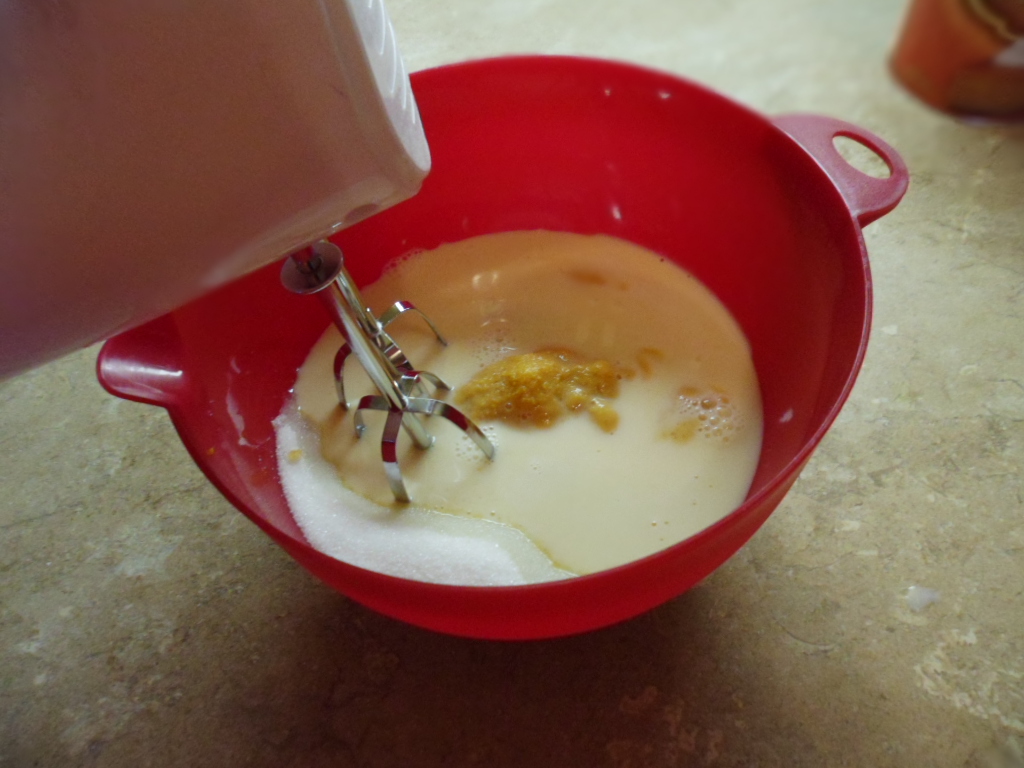
 First, mix the pumpkin, sugar, milk, and eggs in a mixing bowl until combined.
 Then add your flour, salt, and spices, and combine again.  If you're using fresh pumpkin, your mixture will be a little lumpy, and no matter what it's going to be soupy and runny--that's a good thing!

If you're making a regular-sized pie, pour it into a 9 inch pie crust.
If you're making mini handpies, pour into a baking dish (mine is 8 inches).

Bake at 350 degrees for 45-60 minutes.  While it's baking, I made my mini handpie crusts.  You have to bake the filling before you put it into the mini handpie crusts because it will be too liquidy if you don't.  That does not make for a very yummy (or clean) handpie.

So now it's crust time!  I used 4 9-inch premade pie crusts, which makes about 40 mini pie crusts, but only if you take the scraps, reroll them out, and continue cutting crusts until the scraps are too small to use.  I rolled out my dough onto a floured countertop and used a standard drinking glass to cut my rounds (a biscuit cutter would work just as well, but I don't have one lol) 
 Here are all my beautiful rounds!
 And here is my very yummy pie filling just out of the oven.  If you take it out and it's still liquidy in the middle, put it back in for about 7 minutes.  It will continue to finish firming up as it stands cooling, but you want it pretty firm when you take it out.  (Please ignore my dirty teapot and stove...)
 I put a little blob of filling onto each round (roughly 1/2 Tbs)...
 ...then folded it over and used a fork to pinch and seal the edges.  You might have a little pumpkin filling or liquid come out, and that's okay--just adjust how much you put in the next one so you don't waste too much squished out filling.  :)
 I used a paring knife to cut 2 small slits in the top of each pie, then brushed with melted butter and sprinkled with cinnamon-sugar before baking.  Then it's back into the oven for about 10 minutes at 350 degrees, until it's flaky and golden brown.
 Just out of the oven!
 And here they are, all finished, warm, and delicious. 

So now that my house is all decorated for Fall, smells like spices, and I have warm little pumpkin pie bites to fill my belly, I feel like Fall is truly here!  Happy October!


Pin It


Photobucket

Friday, September 30, 2011

Tutorial: Pumpkin Pennant (no sew!)

It has been waaay too long since I've posted!  I've been actively crafting, but just haven't had time to upload and post, for which I apologize.  I wanted to post the craft I did last Wednesday on last Thursday evening, but then H proposed to me so I was a little busy that evening :)  I crafted this week too, but this is finally the first day I've had to post it!  So here it goes:  last week's craft!

Pennants are very "in" this year in the crafting world, and I've wanted to do something pennant-y lately, but wasn't sure what to do.  I had some burlap and some orange quilt squares, and I've been in a full-blown Fall mood lately, so I decided to put the two together.

Voila!  Pumpkin Pennant!


Okay, so first gather your materials:
Burlap
4" x 4" fabric squares (I did my all different prints, but you can do them all the same if you like)
Pumpkin pennant pattern (I provided the link to the pattern at the bottom of this post)
Twine
Brown acrylic or fabric paint
Paint brush
Letter stencils
New-Sew iron-on fabric adhesive
Iron and ironing board (not pictured)
Bobby pin (not pictured)
First, figure out what your banner will say.  I chose "happy harvest" which has 12 letters, so I cut out 12 pumpkins.  Make sure they are small enough for each one to fit in your pennant shape.

 Next, use your pennant pattern to cut out 12 pennants.  This pattern allows for room to fold over a hem at the top, but you can resize it if you want larger pennants.  As it is, these pennant pieces are about 3 inches tall when finished.
 Next, I laid out each pennant piece and figured out how my pumpkins would lay on them.  I didn't want 2 patterns next to each other in a row, so I made sure that showed in my layout.
 Next, I cut pieces of the No-Sew and laid it out on the back of each pumpkin.  Side note: I love no sew.  Seriously.  If I could No-Sew an entire wardrobe, I would never purchase a sewing machine.  Ever.  Make sure you get a little piece for the stem, because that will come up easily if you don't. 
 Next, iron each pumpkin onto each pennant piece.  Make sure to follow the directions on the No-Sew so you put your iron on the right setting. 
 I also folded down the hem flap at the top of each pennant piece (so that it folds over the back, not the front by the pumpkin) because this will make creating the hem loop easier. 
 Once I had ironed on all the pumpkins and ironed the hem on each one, I ironed my hem down.  This was tricky.  You have to cut the No-Sew thin so that it only hems at the bottom of the flap.  You're creating a loop to thread the twine through so they can hang.
 Iron your hem.  Yay No-Sew!
 So now that I had them all hemmed, I laid them out again in the order that I want to hang them. 
 Stencil time!  I got out the handy-dandy paint and put one letter of each word on each pumpkin.  Do you know how hard it is to take a pic and stencil at the same time?  I just make it look easy ;)
 Okay, so now the hard part--how to thread the twine through the burlap.  I don't have good needles, so I had to get creative.  Hence the bobby pin.  I tied one end of the twine to the bobby pin and used that to thread it through the hem I created with the folded/No-Sewed flap.

I learned quickly: thread the last letter first.  I started with the first letter and about 3 letters in realized my mistake.  So thread it backwards :)
 Here it is all laid out after being threaded.
 I played around with the spacing and decided that 2 different banners would be best.  Right now, they are just tacked up above the TV, and I need to figure out how to make the ends look pretty.  Any ideas?
So there ya go!  Make your own pennant!  It's a little bit longer of a project; took me the better part of an hour and a half, but I think it's worth it.  It's a nice addition, and can be left up all Fall since it's not specific to Halloween or Thanksgiving.  But you can make yours say anything you like!!

Breakdown time:
Burlap:  $0.75 ($2.99/yard)
Orange quilt squares:  $4 on ebay
No-Sew: I had this (because I don't ever not have it!)
Paint: Had it
Stencil: $1.99 (but it's reusable!)
Twine: Had it

Total cost of this project: $6.74
But it would have cost upwards of $10 had I bought it at the store already made :)
Success!

Download the pennant template here

Pin It


Photobucket

LinkWithin